Aimilios Davlantis Lo on Making a Drinking Giraffe Ring
Aimilios ‘Emil’ Davlantis Lo, a London-based Architect, Machinist and Mechanical Workshop Engineer at UCL’s High Precision Design and Fabrication Facility, takes us through his making journey of a mechanical giraffe ring for his wife’s 30th birthday gift. Kicking off our ‘Thought Process’ series, Emil walks us through each step, including the complex processes, tools and materials required for this ambitious design project.
Gubns: What inspired you to design a ring - and not only a giraffe ring - but a mechanical, moving accessory?
ADL: The story began in July 2022, one month before Yuqiao's birthday and a few days before she embarked on her long homecoming trip to China. Yuqiao Guo is her full name, and she is my lovely wife, whose work is also featured on Gubns.
For her 30th birthday, I wanted to make her another jewellery piece (see “FingeRing”). But this time, our relationship had matured to a point where we also recognized each other through the spirit of our representative animal species. So, what better way to celebrate her whimsically animating persona than to make her a giraffe ring?
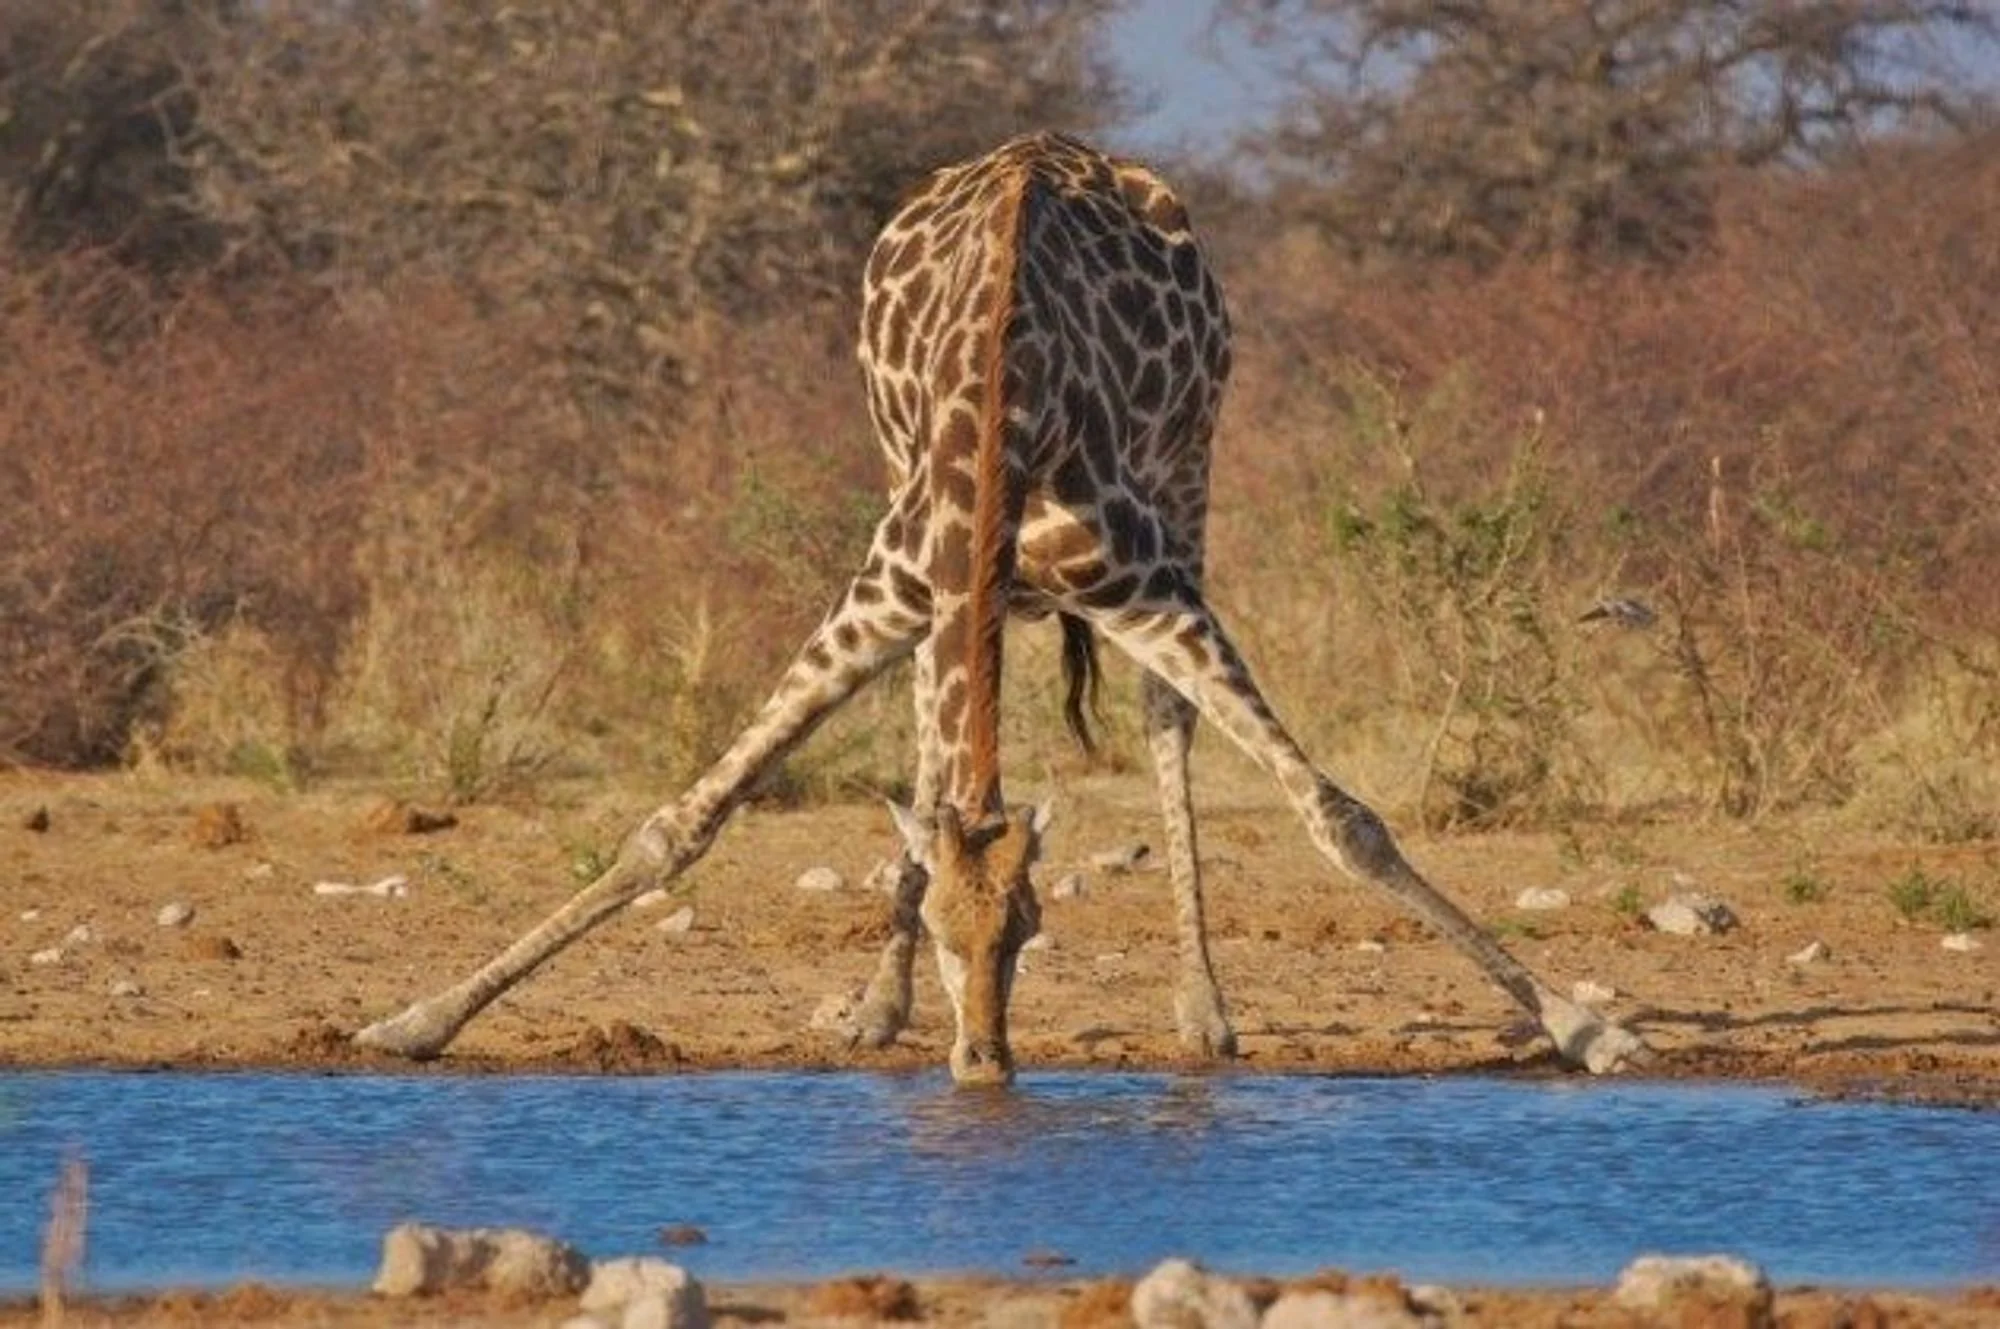
The project had to accomplish a couple of things. First, it needed to capture the quirky essence of giraffes. Quick research revealed that their long, otherwise elegant neck is not long enough, and it gives them a hard time reaching down low to have a drink from the pond. Inevitably they lower themselves by spitting their front legs, resulting in an awkward position.
Second, it would be a ring that, when worn, will allow her to help the giraffe drink water by bending her finger. To achieve that, there needed to be a very compact mechanism that transfers the rotational movement of the finger to the giraffe’s neck. The sketch above helped me simplify the problem using nodes and vectors.
Third, it needed to be lightweight yet strong, corrosion-resistant and able to hold intricate features that would resist mechanical wear. I choose 316 stainless steel, which is an austenitic grade known for its excellent corrosion resistance and ability to last for ~1200 years. It’s a challenging material to work with, but I wanted to get used to it because I will start using it in many future projects.
GU: Did you approach the challenge knowing all of the steps, materials and tools you would need, or was there a plan from the beginning?
ADL: Typically when I first think about the design of such a project, I have a vague idea of the processes and tools it will involve. But, given its scale, geometry and materiality, little did I know that this would be one of the most challenging projects. From 4-axis CNC milling to custom work-holding, miniature threading, hand-reaming and endless fitting and polishing, the making of this ring touched on almost all machining operations.
Like most machining projects, it’s part of the process to come up with a plan (in production terms, it is called “order of operations”). This helped me determine things like which part gets made first, which one needs to fit with the previous and what are the incremental subtractive steps of metal machining for each piece.
Before production, I enjoy constructing the designs in 3D, using Autodesk Fusion 360. It can help me resolve more details, and I can easily show my idea to friends and family, whose input is invaluable. One example is when my sister corrected my design by flipping the mechanism 180 degrees, reasoning that the space between the ring and little fingers tends to be bigger than the space between the ring and middle fingers.
GU: Can you walk us through the fabrication and assembly process?
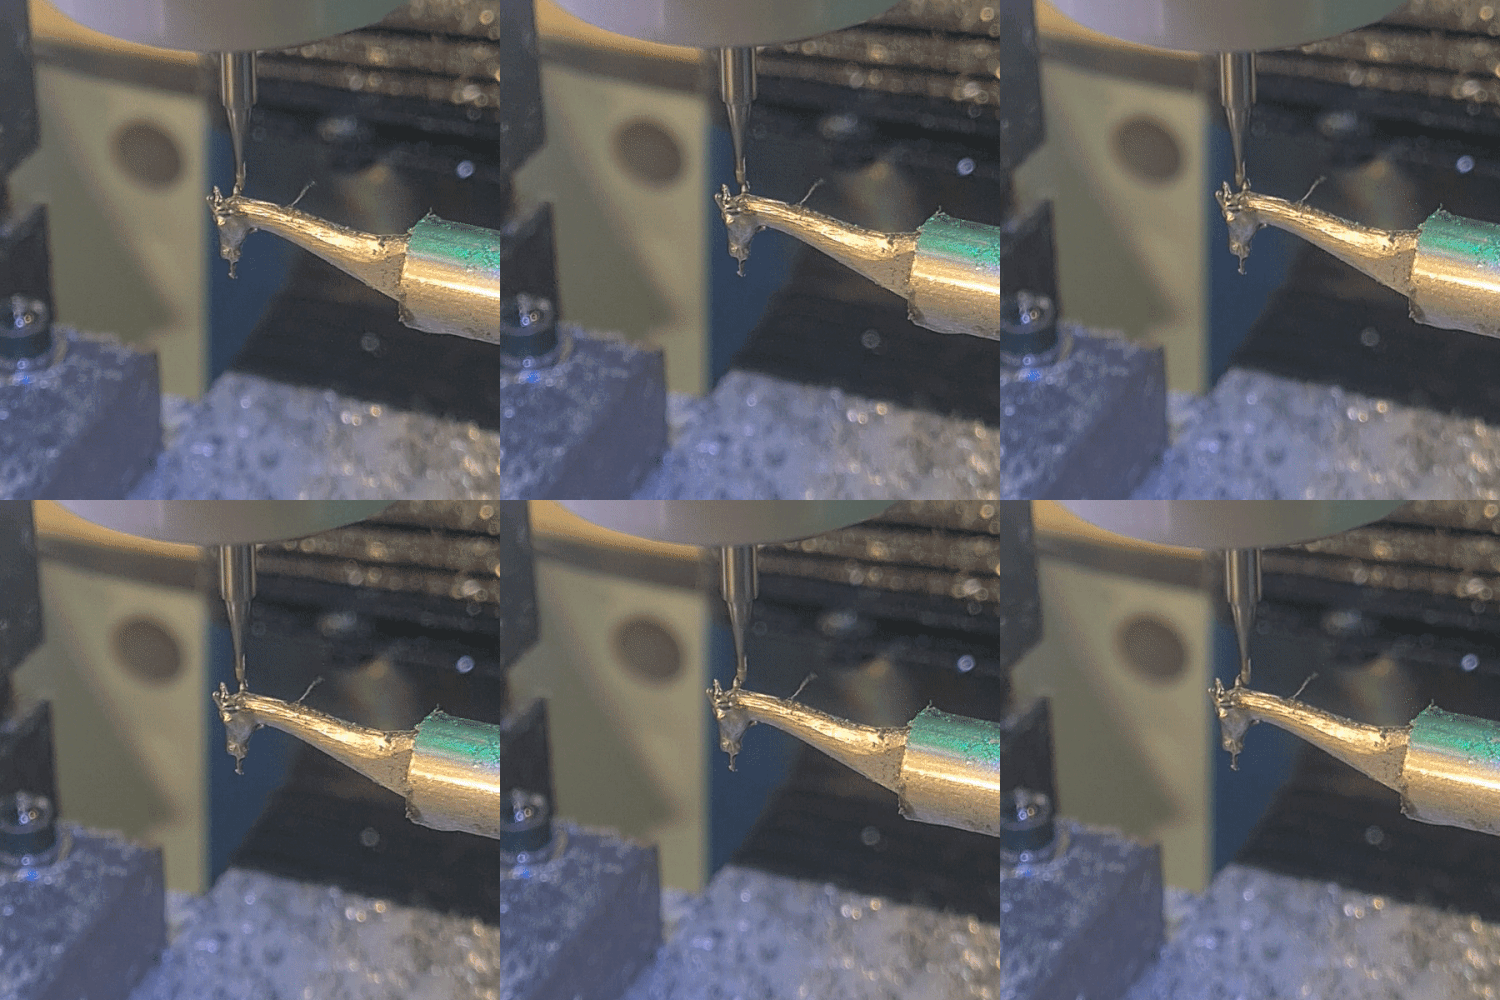
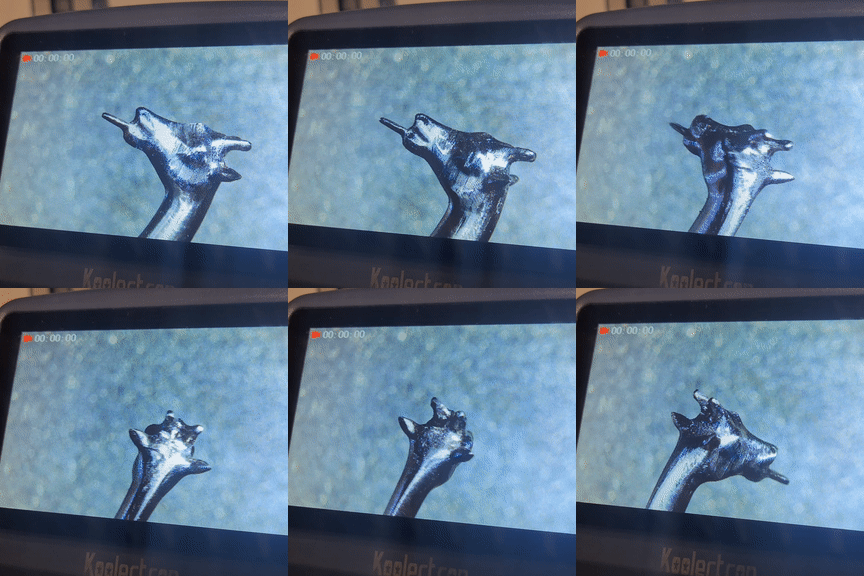
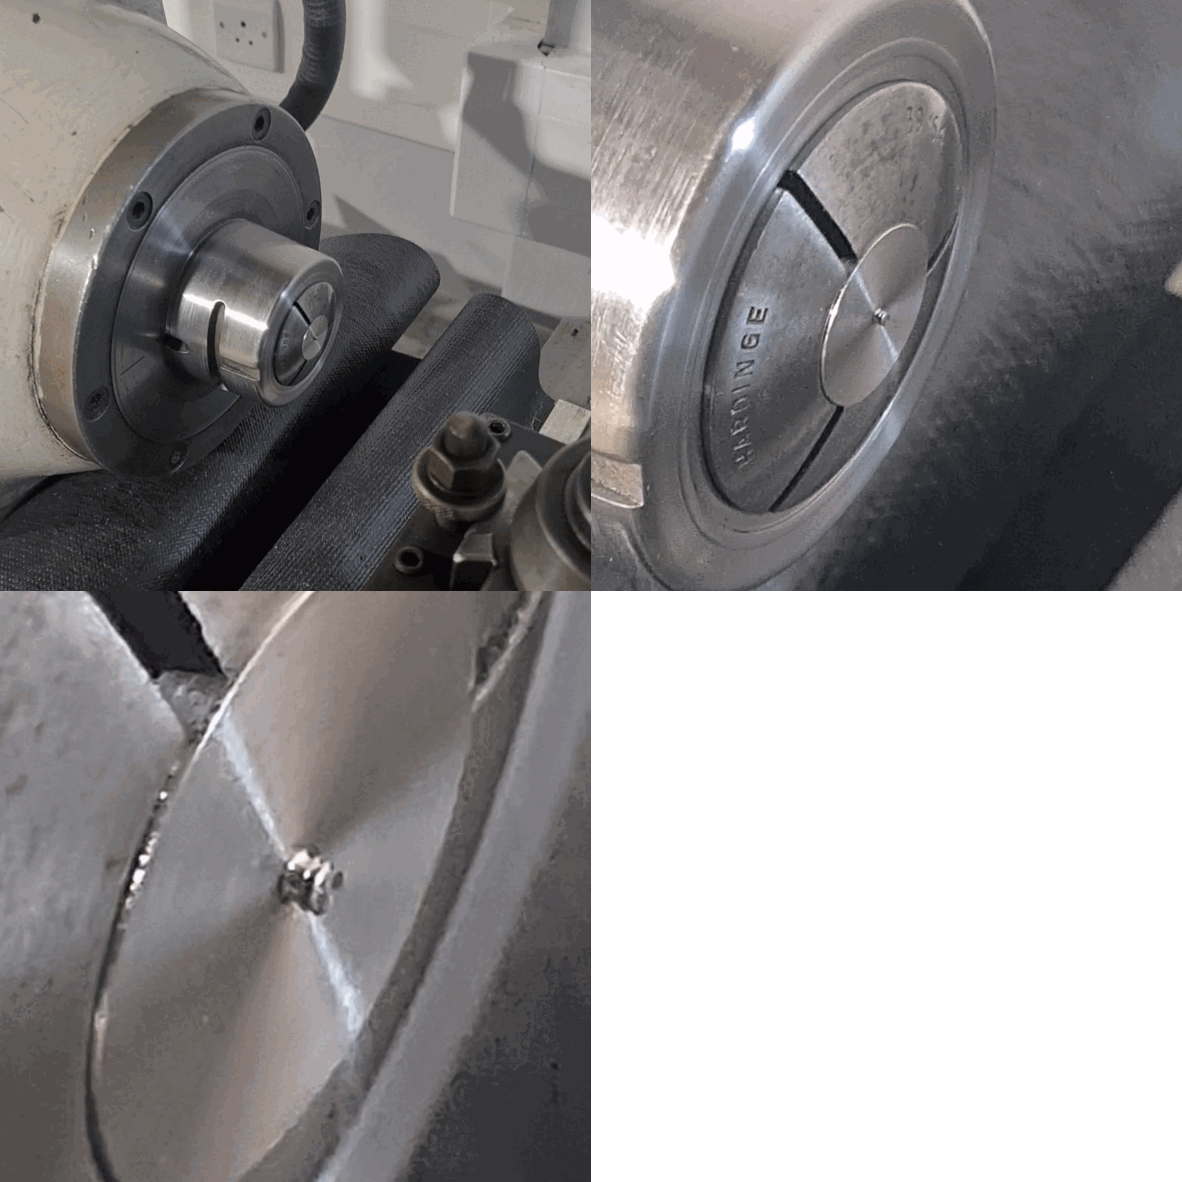
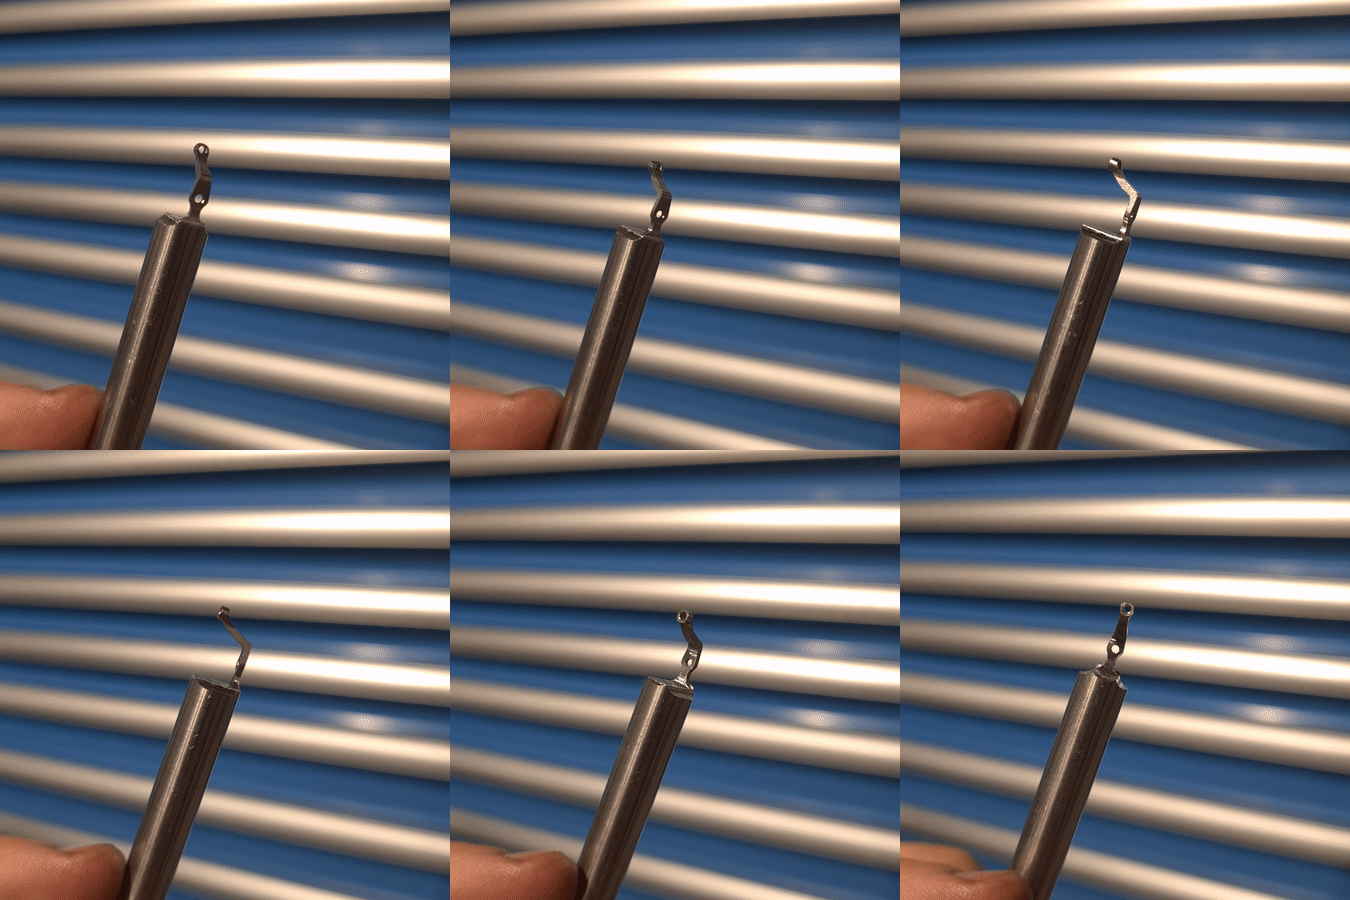
The project started with the giraffe, which turned out to be the easiest part of the assembly. It was CNC milled from a round bar using the 4th axis attachment I built a while back. This tool can grip the material and spin it so that the machine can access and cut all the sides of the part.
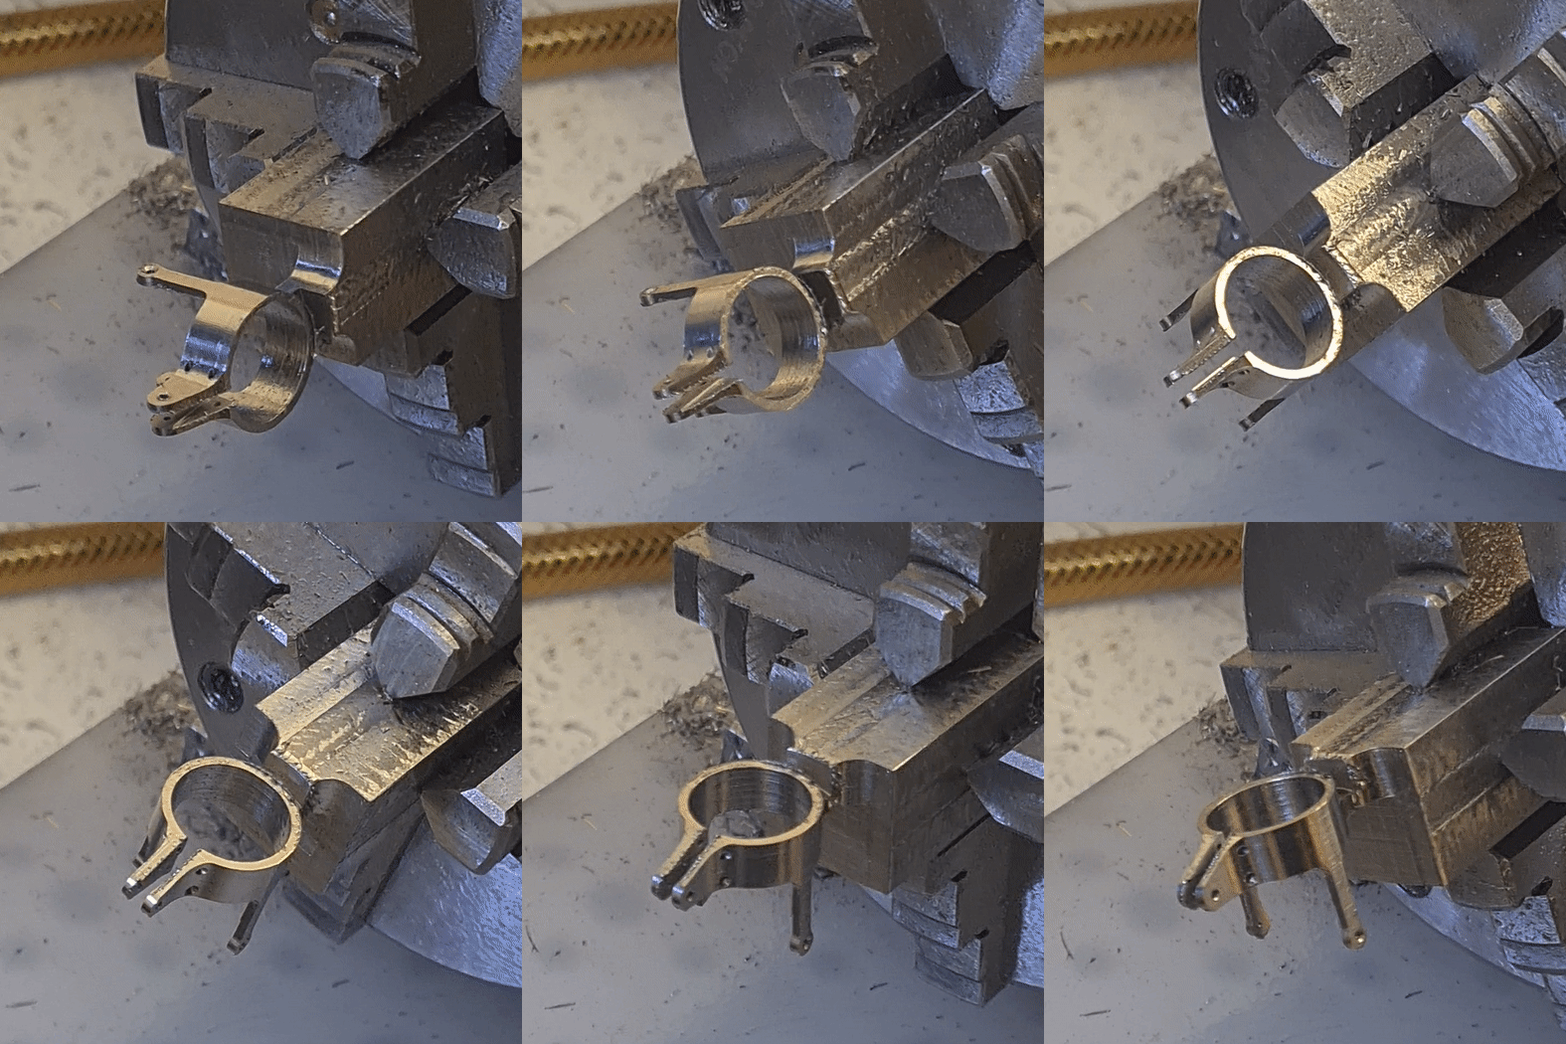
Then I made the main ring body which was by far the most challenging, because of its delicate and open geometry. Next, I cut out the frontal ring and arm from a 1mm stainless steel sheet. I added a small engraving and then bent the part into a split ring.
The end of a round bar was used for the water pond. After cutting the ripples on the CNC, I parted off the piece from the bar, leaving a small burr called “nipple”. Instead of snipping it off, I threaded it to 00-90 imperial thread, which would be used to mount to the rest of the ring. The small lever arm presented an interesting challenge, given that it is curved in one orientation and tapered in the other. It was also CNC cut from a round bar.
The remaining parts, mostly miniature screws, were manually turned and threaded on the lathe, and their screw driver slots were cut on the milling machine. After machining the parts, I took my time sanding and polishing them. This process took about one third of the total time spent on the project.
Assembly
GU: Did you come across any obstacles and how were they resolved? In other words, did you learn any lessons along the way?
There were so many obstacles and I wish I could have resolved all of them. The inherent problem of machining is that mistakes, accidents or defects are not part of the plan and they eventually lead to multiple plan revisions. A lot of the times I would lose patience, for example drilling the wrong sized hole (always oversized!) or dropping a finished screw and trying to look for it for longer than the time it’d take to remake it. I overcame most hiccups by pausing and restarting the next day.
GU: Are you interested in exploring more jewellery or mechanical projects?
Absolutely. It is incredibly fun to combine the sculptural and artistic aspects of jewelry making with high precision engineering processes. The two worlds are usually separated but my wish is to create a realm which sustains both worlds.
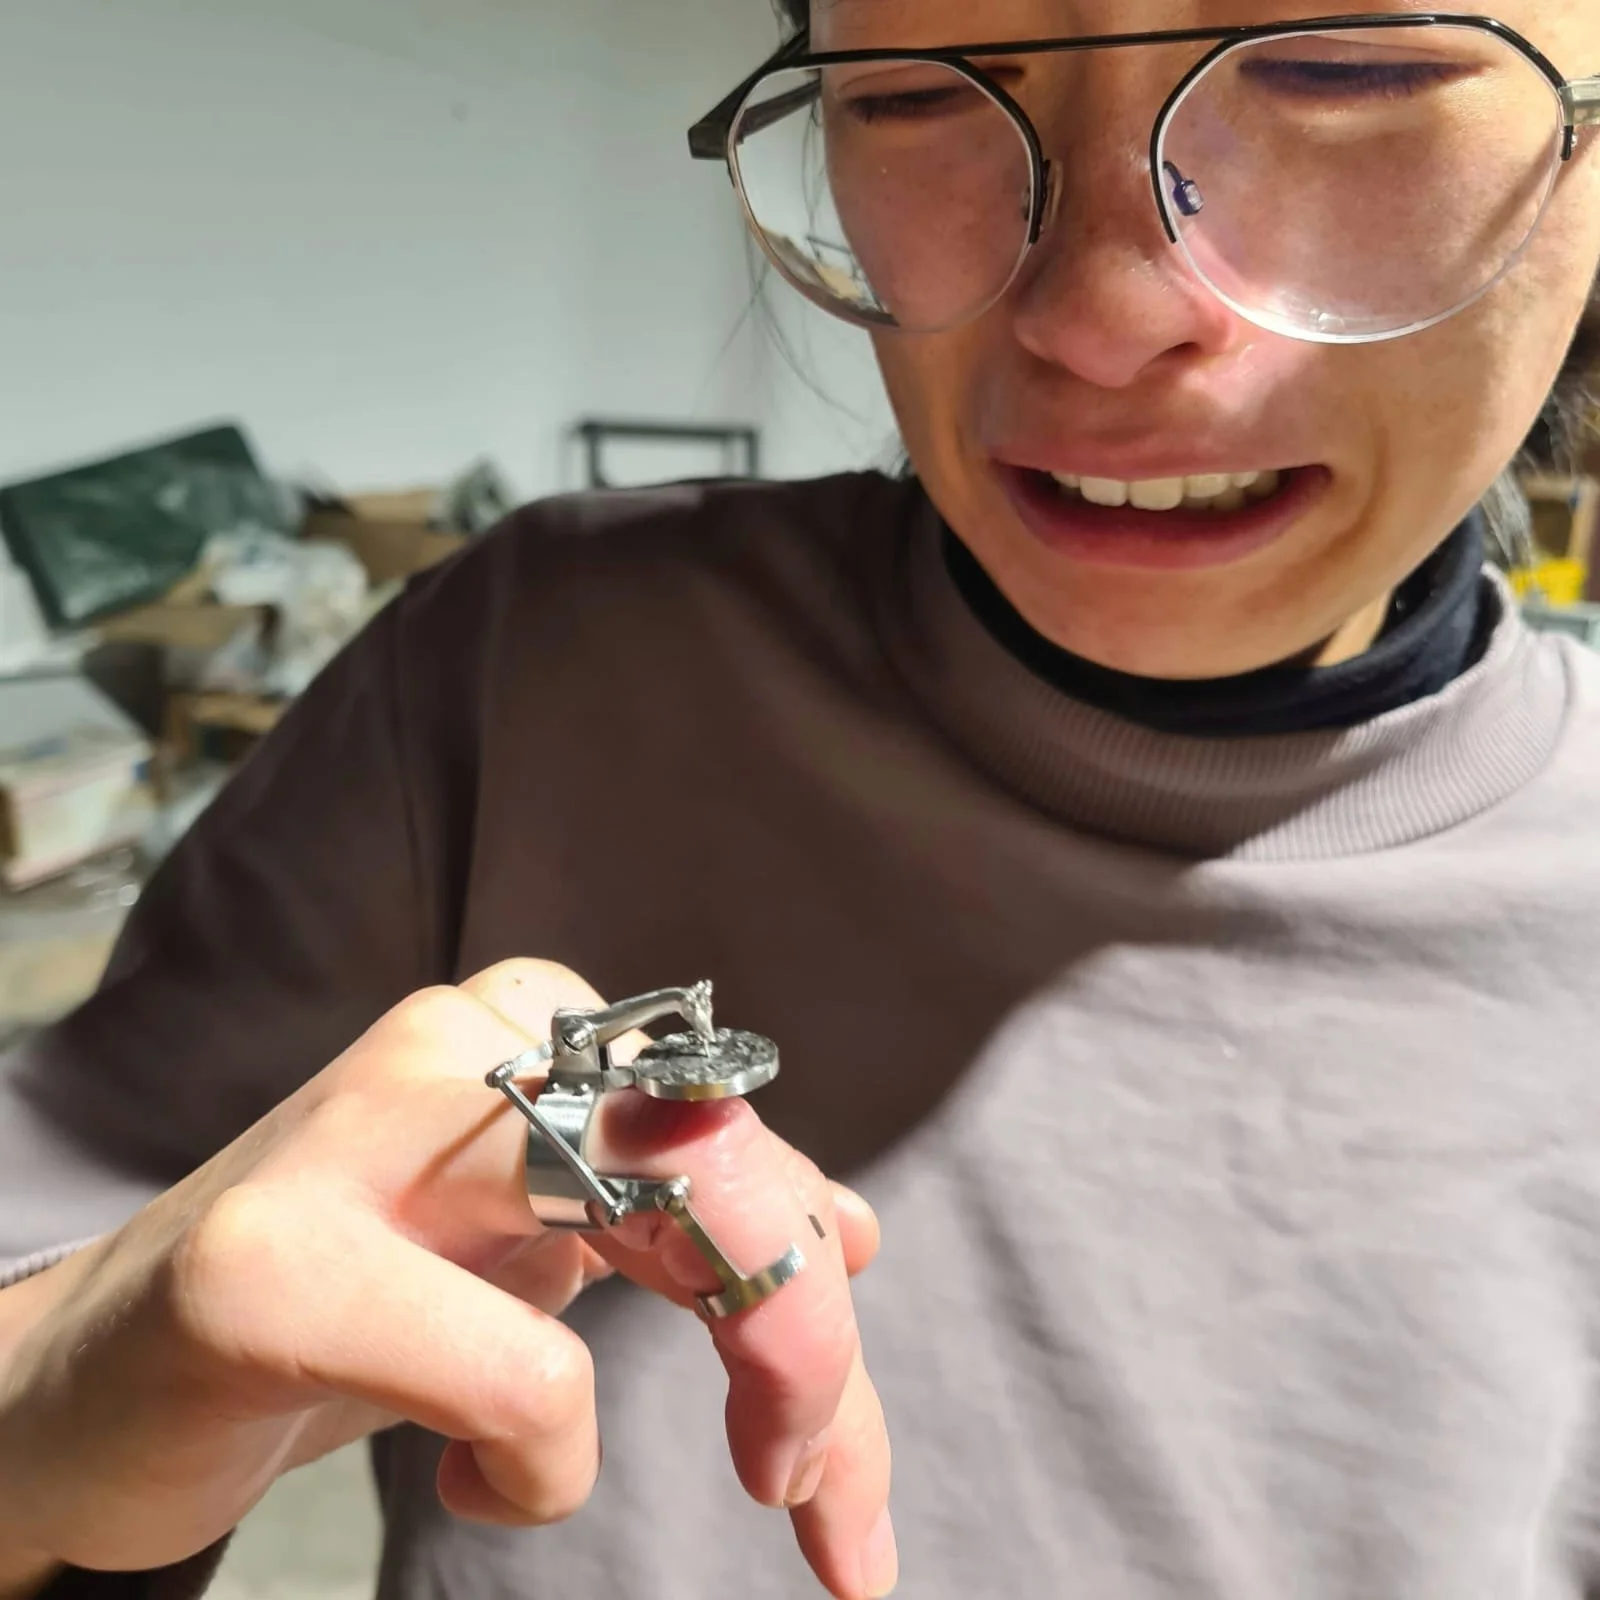
GU: How did the recipient of the gift (your wife!) react?
Follow Emil on Instagram (@emiliodlo), leave a comment or browse his work below.


